Now there’s a 'simple' way to refresh the look of your kitchen or bathroom
By The Malibu Times · Fri Sep 10 2021
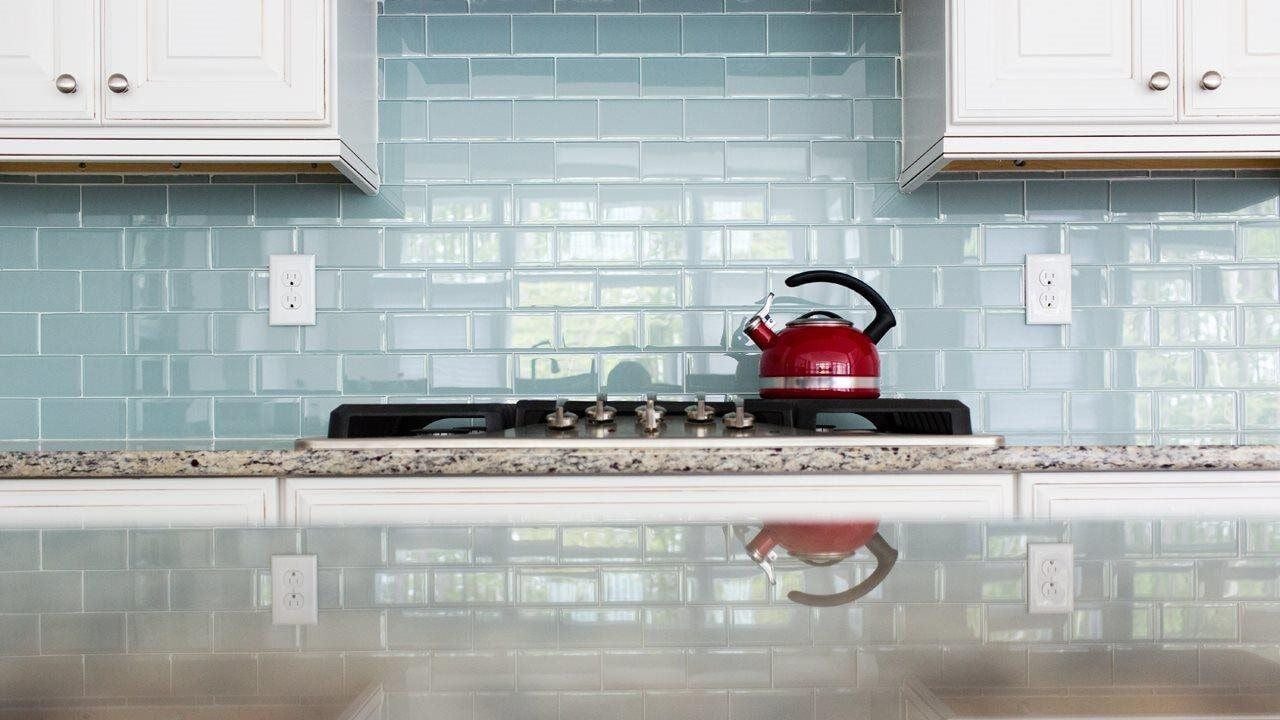
(BPT) - While you've likely been spending more time at home, you've probably noticed areas that need a refresh. High-visibility rooms like your kitchen and bath are top candidates, but whole room renovations are expensive and inconvenient. Instead of a complete overhaul, consider minor renovation projects, like adding fresh new tile accents to brighten and elevate these spaces.
One satisfying project is installing a tile or stone backsplash. By keeping your design simple, you can do the work yourself, even if you're new to DIY.
Choosing the right tile
In addition to the fun aspect of choosing tile and grout colors, it’s important to choose tile that's appropriate for how the room is used. For example, a bathroom is likely to be a much moister environment than a kitchen, making water-resistant porcelain tile a popular choice. Selecting stain-resistant tile and grout is crucial for a kitchen backsplash, which may see more messes. You'll also want installation materials that are appropriate for the tile size and weight that you choose.
Selecting installation products
Formulated for the DIYer but often used by pros, the Simple line of products from Custom Building Products provides an easy, ready-to-use alternative to traditional cement based products that allows you to tackle small products — with no mess and zero waste. This makes tile setting possible for even your first home improvement project.
When it comes to tile setting products, choose one of these two options, depending on your preference and timeframe for completing the project:
- SimpleMat Tile Setting Mat is the quickest, easiest way to install tile on backsplashes. Because the adhesive retains its strength longer, you can tile onto the mat an hour at a time, or over several days. Once the tile is applied, you can grout immediately but must do so within 24 hours. Your tiles should be between 1" x 1" and 8" x 8"and no thicker than 1/2". One big advantage with SimpleMat is that you can see the result of setting even a small section of tile right away. It is especially ideal for installing mosaic sheets or subway tile, two very popular options for kitchens and baths.
- SimpleSet Ready-to-Use Thin-Set Mortar is closer to the traditional method you may be familiar with and it spreads quickly and easily right out of the bucket. Typically used to install tiles 8" x 8" or smaller, this mortar can be used to set tile up to 15". However, unlike with SimpleMat, there is a cure time for the mortar required prior to grouting, which will be longer the larger the tile you're using is. See product instructions for exact cure times.
You will also need grout to complete your backsplash. SimpleGrout Ready-to-Use Grout is a no-mix, no-mess alternative to traditional grout that is also stain-resistant. Its sanded, shrink- and crack-resistant formula can be used in grout joints up to 1/2" wide. You can use this grout with either the SimpleMat or the SimpleSet mortar.
Creating your backsplash
Before beginning any work, make sure all surfaces are clean, dry, stable, and meet the requirements of your installation products. Carefully read and follow all product directions and limitations for a successful project.
With SimpleMat double-sided adhesive mat, you'll be cutting and placing sections of the mat at your own pace. You have the flexibility to complete the project in sections over several days, or you can do it all at once. Because SimpleMat bonds instantly, you will start grouting immediately after setting your tile. Watch this video to see how it works.
If you're using SimpleSet mortar to set your tile, you'll need a small v-notch trowel to apply the bonding mortar to the wall, combing the ridges in straight lines. After setting your tiles, you must allow the mortar to cure according to the product instructions before applying the grout.
Apply SimpleGrout with a grout float, filling all joints, then remove excess and gently clean the tile and grout joints with a damp grout sponge. Work in small areas, grouting and then cleaning immediately.
After you finish grouting your backsplash with SimpleGrout Ready-to-Use Grout, you may also need to use SimpleFix Ceramic Tile & Fixture Caulk for areas where the backsplash tile meets other tile, or another surface, such as a wall joint or corner.
Ready to start your DIY backsplash project? This full line of products is available at your favorite home improvement store, although SimpleMat is available exclusively at The Home Depot. To learn more about time-saving products for any DIY tile project, visit CustomBuildingProducts.com.